What does the configuration menu (F4) consist of and what kind of settings to select?
This is the main configuration menu of the Fotillo software family. You will change most of the settings related to the software here, starting with the main settings of the software (language, package prices), through the configuration related to email notifications and ending with those related to external devices (printer, payments, etc.).
Note! Not every software in the Fotillo family has all the configuration parameters described below. Software intended only to send photos to an e-mail address, for example, do not have built-in options related to printer configuration, while software for photobooths that are intended to work for, for example, guests of an event at no extra charge may not have configuration options related to payment and integration with coin-operated devices.
Below we describe all the options that are found in the Fotillo software family:
(Note! All entered and saved settings will work after restarting the software)
Software:
- Number of collages on screen – here you can set how many collages should be visible on the home screen. The available options are 1, 2 and 4. Below we show the look for 2 and 4 collages


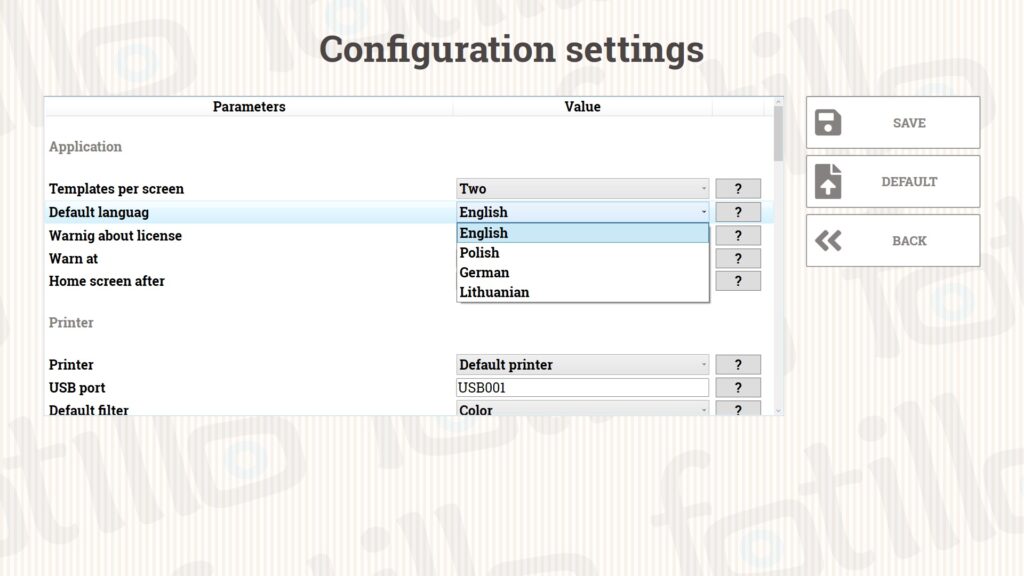
- Default language – here you can select the software’s default language (the one it will operate in). The other languages will be selectable using the flags in the top right corner.
- Package mode – allows you to set up temporary or quantity promotions, so you can increase the shopping cart (offering, for example, three photos for the price of two) of your customers. It is available in the Fotillo Vending Booth and Fotillo PostCard Kiosk software.
- Warning about license – the software can inform you that the number of codes (possible printouts/photos taken) is about to run out. This is a message that can remind you when it is advisable to purchase additional Fotillo codes so that you do not lose the ability to print / take photos in the middle of an event / use of the software by customers.
- Warn at – a functionality directly related to the above – the software can warn you when codes are about to run out at any time – choose what works best for you.
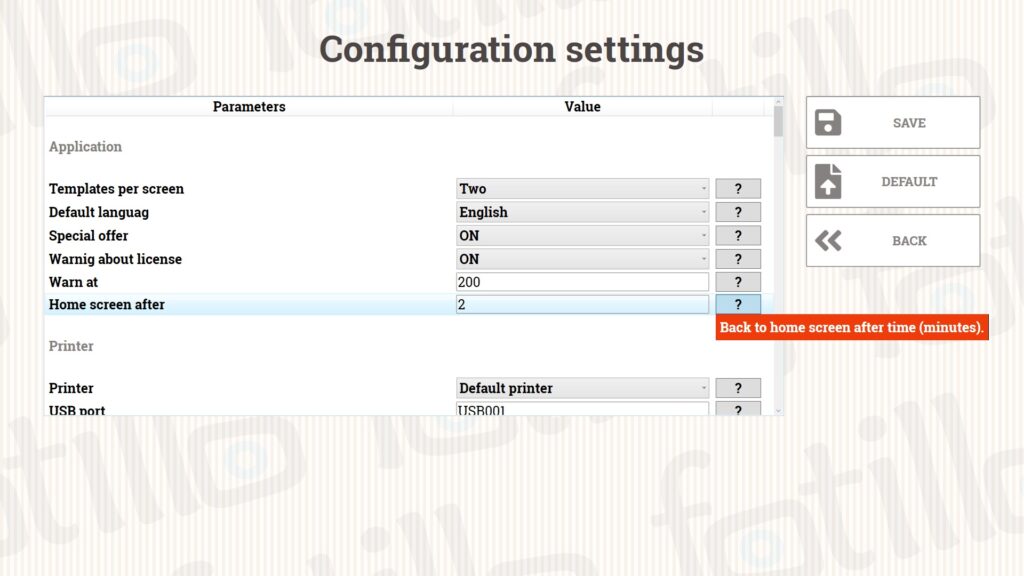
- Home screen after – the time in minutes after which the software will switch back to the home screen. This function is used when a customer takes a photo and does not print it, leaving the software on the screen with a selection of filters. After the set time, the software will switch back to the main screen, protecting the photo of the first client from being made public for the others.
If you spend too much time changing the configuration – then the software will switch back to the main screen after 5 minutes and will not save the changes previously made.
Printer
- Printer – here you will usually find a couple of options to choose from – default printers (installed on the device and connected via cable / Wi-Fi) – Fotillo allows you to print using any printer connected to the device as default. In the list, you will additionally find specialised thermosublimation printers that support two-way communication – CITIZEN CY/CY-02 and DNP DS-RX1 as well as DNP DS-RX1 HS. The selection of these printers allows several additional features such as:
– changing the printout from glossy to matte
– verification of the printer status
– checking the number of remaining prints on the roll
– possibility of sending reports about the printer
Important: If you choose a Citizen or DNP printer, remember to set it as the default printer in Windows.
- No. of USB port – Changing the USB port is related to DNP and CITIZEN bi-directional printers If the printer is connected to a different USB port than the one set in the configuration, the status of the printer in the software (after pressing F2) will appear as ERROR.

To find out which USB port your printer is connected to, go to: Control Panel > Hardware and Sound > Devices and Printers Click the right mouse button on the printer you are interested in and select “Printer properties” and then the “Ports” tab The corresponding port will be listed next to the selected printer.
Note: The printer used to print photos or postcards must be set as the default printer in the Control Panel.
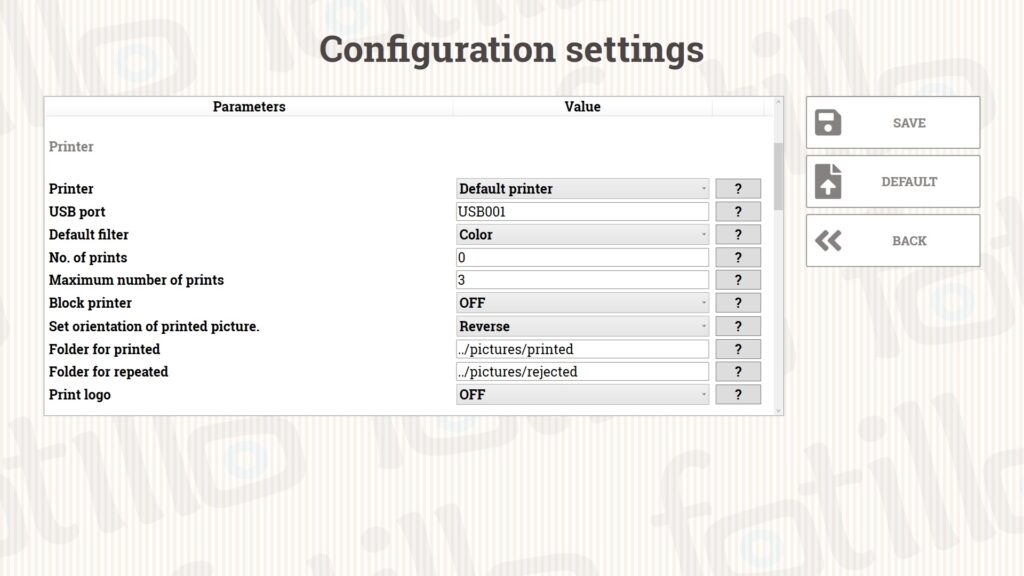
- Default Filter – You can select which graphic filter will be the default one on the printing screen.
- Fixed number of prints – by entering a number here, you can define how many prints each person can get. By entering “0”, the customer will be able to select the number of prints on the software screen.
- Maximum number of prints – if the above value is set to 0 then this is where you can set the maximum number of photo prints for the customer. Each user will be able to choose how many prints they wish to print, but no more than the value set in this point.
The quantities of prints refer to full-size photos (10×15 cm or 15×20 cm). If the photographer chooses a template with stripes then the number of prints will be twice as high. For strips, the software will suggest 2, 4 or 6 prints and the software will count this as 1, 2 or 3 prints.
- Block printer – by enabling here the option to print after a certain number of photos, the function available in menu F2 will be available (you will configure there the number of photos after which the software should block the possibility of further printing).
- Set orientation of printed picture – you can choose between reverse orientation (recommended for most printers), according to the settings in the collage and according to the printer settings (recommended for CITIZEN and DNP bidirectional printers.)
Save photos and Save repeated photos are fields where you can define where on the device’s hard disk the photos taken with the Fotillo software will be saved.
- Print logo – if enabled, each first printout will be with a FrameL.png frame. The photo saved digitally will be without the frame.
Photos

- Device – You can define the device that takes the photo in the software. The most common will be the default camera on the device, a camera connected to the USB port, or a dedicated Canon camera.
- Live view resolution – it is the resolution of the camera as seen in the preview, directly in the software. The default setting is optimised for fast preview performance for most devices.
- Single resolution – this is the resolution of the images taken for templates with a single photo. The default setting is optimised for fast preview performance for most devices. The software automatically selects the resolution, but you can change it.
- Collage resolution – this is the photo resolution for templates with two or more photos. This resolution can be slightly lower than for a single photo. The default setting is optimised for fast preview performance for most devices.
- Time offset, Time of first picture, Time for next picture and Speed of counting – these are the parameters (in seconds) that are displayed while taking photos in Fotillo. After selecting the target layout, you will be able to see a counter with the indicated time, which will count down the time until the photo is taken, while giving you time to get into the right pose for the photo. The time placed as the default is the one most often preferred by our customers, however, it is worth testing the creation of photos in the software and choosing the right one to suit your needs. However, for certain events, it may be necessary for the guests to have more time between the photos (e.g. to change clothes) and it is then worth adding more time between photos.
- Save the originals – if this function is activated, each photo from your camera or camcorder will be saved in its original resolution on your hard drive in the folder specified.
- Folder for originals – the path where all original photos will be saved.
- Confirmation – the client will see a preview of each photo after it has been taken, and will be able to approve or reject it. We suggest keeping this option enabled if your templates have multiple photos. It will ensure that clients will be able to see each photo and approve or repeat it, without having to retake the whole series of photos from the template.
Last screens
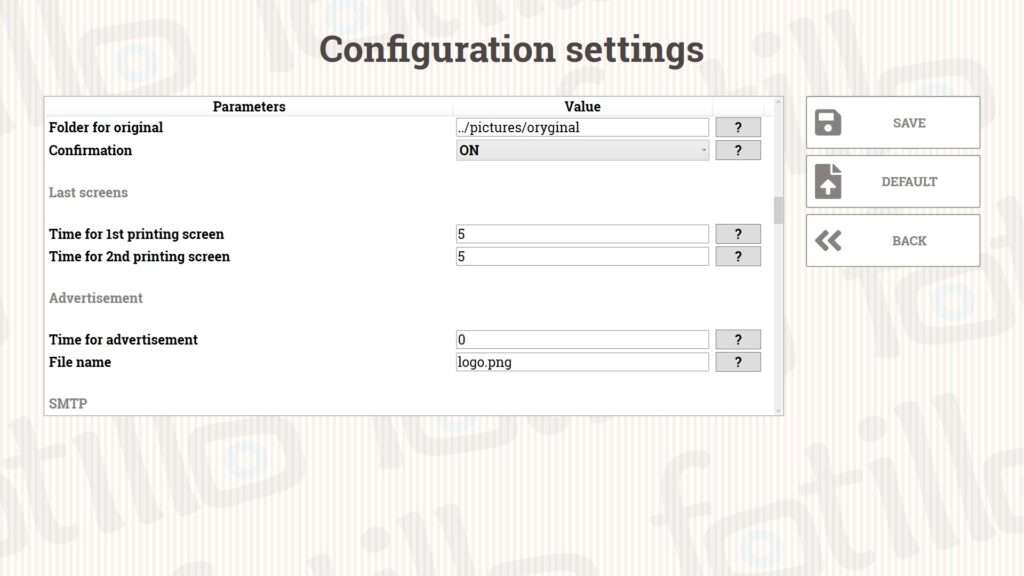
- Time for 1st printing screen – this is the length of time (in seconds) that the screen will be displayed after the photo has been printed or shared with information about its reception.
- Time for 2nd printing screen – this is the length of time (in seconds) that the screen will display to encourage wedding guests to sign in the guest book.
If the screens are set too short then the last screen is displayed for as long as the printing is in progress. (Only with Citizen or DNP printer)
Advertising
In Fotillo, you can advertise your own business when your customers take photos. You can also display any information to them (related to sales, other products or words of thanks).
- Time for advertisement – this is the period of time you want the advertisement to be displayed, expressed in seconds.
- File name – this is the file that should be launched at the end of the process (you can see it in the software after the penultimate and last boards). This file can have one of the following extensions:
For image files: .jpg, .bmp, .png
For video files: .avi, .mp4, .wmv
In order for the software to play the file, you should place it in the /images folder and type the name of the file along with the extension here. After placing it and adding the entry, please restart Fotillo so that the changes are saved.
SMTP
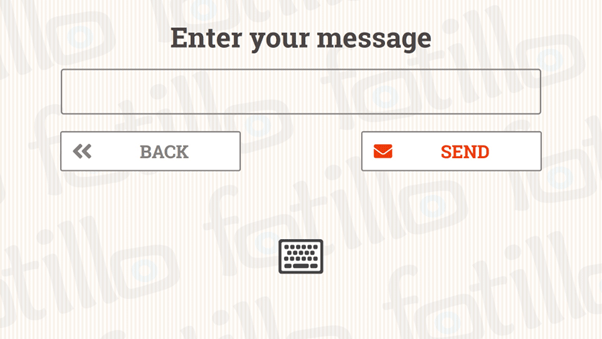
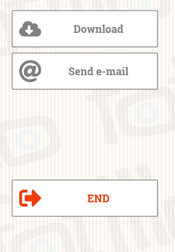
The Fotillo software can communicate with an e-mail server, through which it will send photos to customers when they select the “send email” option on the last board (screen below).
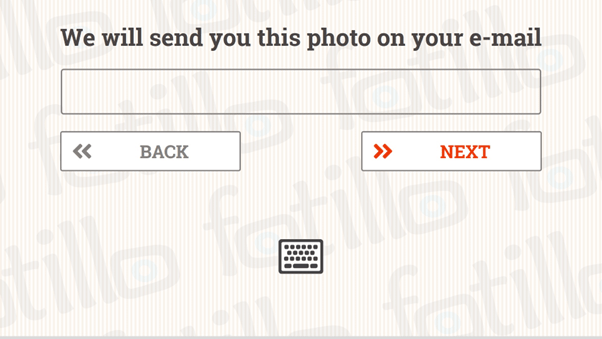
The e-mail can be sent from our mailbox (default setting) or yours. Fill in your mail server details here so that the message to your customers goes out directly from your mailbox and brand – so they keep in touch with you in the future.
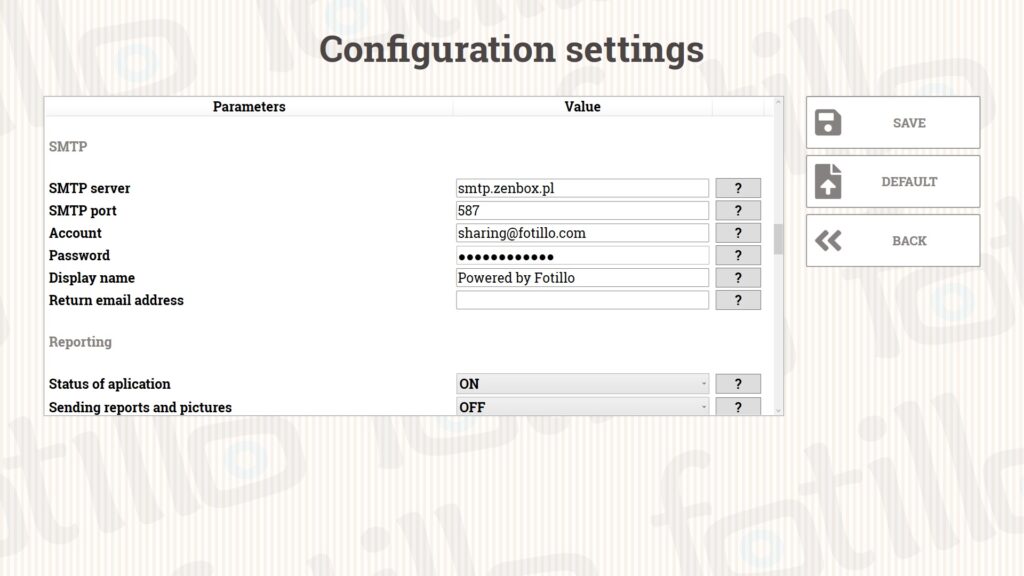
Important: software will start sending the images once the Return Address field has been completed.
Your e-mail address must be entered here.
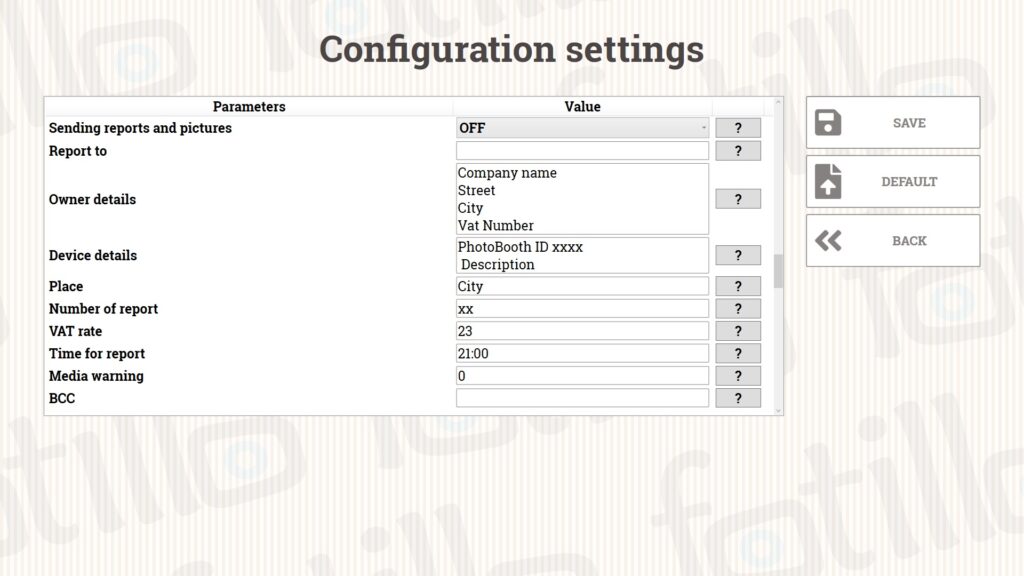
Reporting
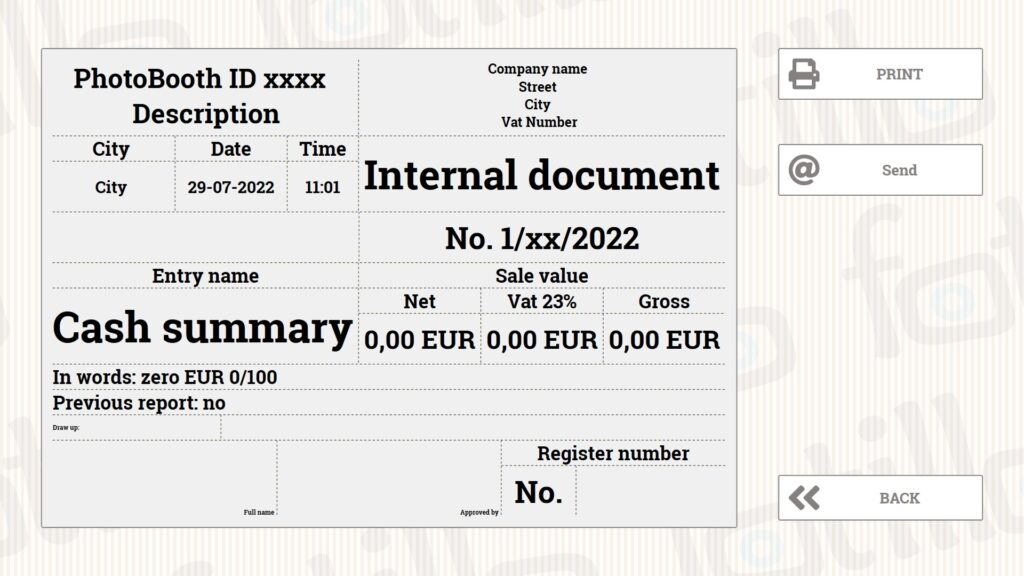
This is the option most often used in software versions with payment processing. It enables you to print a report showing the number of accepted payments. It allows you to have both one and many points located across the country under control! Each Fotillo software can send daily reports of the current work. Here, you define both the reporting option itself and the e-mail address to which the report should be sent, together with the location of the machine and the serial number of the report if you need one. Be sure to note the VAT rate so that it matches that of your business.
The system offers 2 types of report (sent to an e-mail address and also an immediate one)
The report you will receive to your e-mail looks as follows:
| START | 2022-05-08 14-38-12 | start-up time |
| ReportTenant | ID 0012 Chabrowy Dworek | Device ID with location information |
| ReportPlaceNo | 0012 | cash report number |
| TotalAmount | 115,00 | number of payments accepted since the last settlement report |
| TotalPrints | 25 | number of photos printed since the last settlement report |
| TotalTimePrints | 0 | Number of photos printed in the promotional (time-based) package |
| TotalPackGuest | 0 | Number of photos printed in the promotional package (quantity pack) |
| TotalTime | 0 | Amount of purchased time |
| TotalSilver | 2 | Number of promotional (silver) tokens used |
| TotalGold | 0 | Number of service (gold) tokens used |
| CurrentAmount | 0,00 | Amount of cash to be used at the time of report generation |
| CurrentCredits | 0 | Number of credits active at the time of report generation |
| PrintedSheets | 25 | Number of photos printed since last settlement report |
| PrintedSharing | 0 | Number of photos shared |
| SheetsRemaining | 279 | Number of remaining photos on the roll |
| SheetsPurchased | 0 | Number of images sold since the last settlement report. |
In addition, we send such information as:
- An attachment with an e-mail address. This address can be typed in by the photobooth user who buys the promotional package. This informs the photobooth operator that they can send all the photos from the party to this address.
Example of use:
A bride and groom purchase a package of photos at a wedding reception, and later the bride and groom receive all the photos of their guests. Those who purchase the package can also complete the labels.
- The report can highlight information about the ending roll. If you configure “Quantity warnings” in the menu (F4), at which an alert is sent, then information that it is necessary to replace the media with new ones will come to the photobooth operator.
- The daily reports also provide information about communication problems with devices such as the camera, coin filler, banknote reader, card reader and printer.
The following report is created to make it easier to settle the device. According to regulations in many countries, each vending machine must be settled once a month. Such a report can be prepared manually or printed in the software.
Sharing
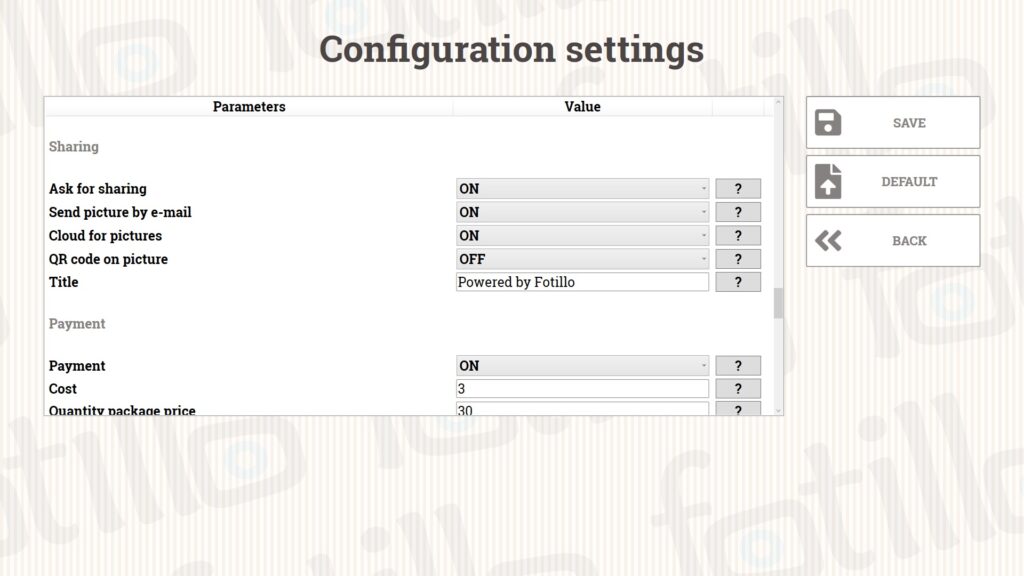
- Ask for sharing – by default, pictures are shared in the cloud, and can be downloaded under a specific link, QR code (if enabled below) and also sent to an email address. By enabling this option, the software will ask each of your customers if they wish their photo to be found for download under the above locations.
- Send picture by email – if you want to provide your customers with the option to enter their email address to send a message with their picture, leave this field activated. If the option is not activated, it will not appear to your customers.
- Cloud for pictures – each photo is available with a link / QR code once it has been taken, but there is an option to deactivate this option so that customers cannot access them from this level.
- QR code on picture – by activating this functionality, the customer will have the option to print an additional photo with a QR code printed on it, with which they can access the digital version by scanning the photo with the QR code with a scanner.
- Title – It is displayed on the website where you can download/display the picture – you can configure it as you wish.
With the e-mail or QR code functions activated, the user will see additional buttons after the photo has been taken – “Download photo” (activates a link or QR code to download the photo) and the “Send e-mail” button, which activates an additional screen where the e-mail address data can be filled in.

Payments
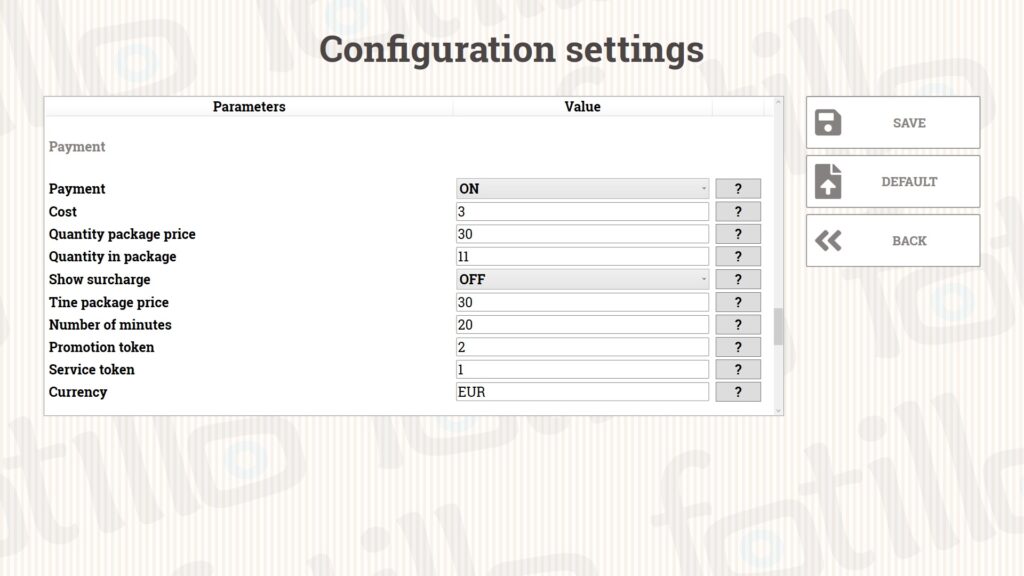
Section where we can configure the promotions that will be displayed to your customers.
- Payments – here you can activate an additional screen in the software related to payment collection.
- Cost – this is the price for a single print expressed in the currency you plan to use.
- Quantity package price – this is the price for a larger number of photos that can be ordered by selecting a package.
- Quantity in package – this is the number of photos available in the package, sold at the price given in the field above.
- Show surcharge – the software will indicate how much should be surcharged for the selected pictures and packages. For example, if someone buys a photo for 5 PLN, but decides to buy 2 prints, the software will display “add 5 PLN”. The information about the surcharge is displayed in several places so that the customer is properly informed about the price of the packages and the current balance during the entire process.
- Time package price – Fotillo offers the possibility to set up a time package (the software is active for X minutes for Y PLN). Here we can set the price of such a package.
- Number of minutes – Related to the time package. This is the amount of time that the customer can buy in the time package for the price specified in the box above.
- Silver/promotional token – Each wedding house manager receives promotional tokens so that they can show potential customers how the photobooth works without any payment.
- Gold/service token – It is given to each service technician to be able to check that the software and all devices are working correctly. We set up the possibility to take a service photo.
For the tokens, the configuration of the coin acceptor is important. It is important that no coins are set up on channels 8 and 9. These channels are reserved for tokens 8-promotion 9-service
- Currency – this is nothing more than a currency symbol that is shown to illustrate the price for the package picture. The selected currency is also printed on the settlement report.
By activating the promotion, we change the look of the software when it is started. If the data is entered as in the above screenshot, then we will see the following board:
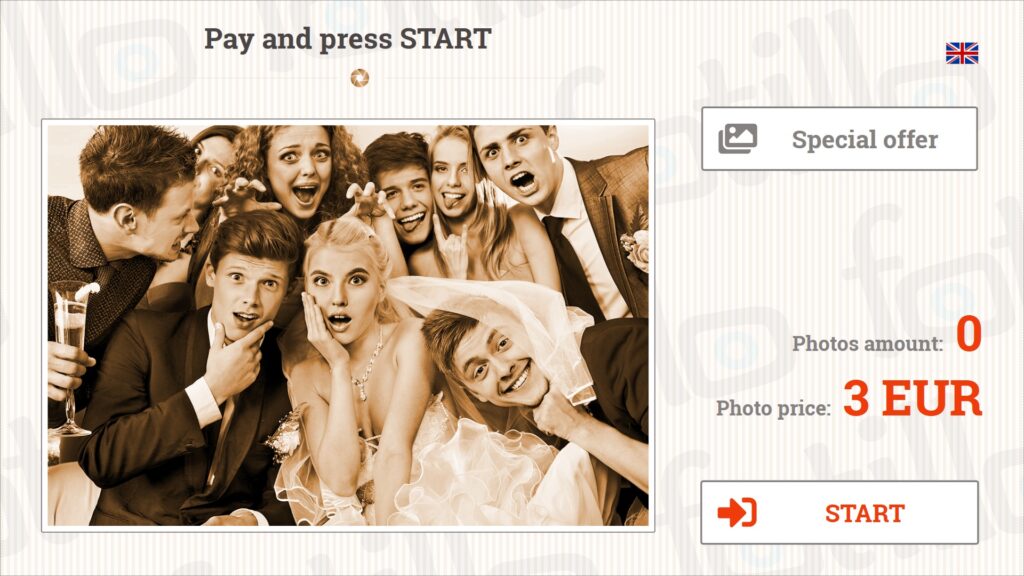
Thus, we see the price of the photo, the number of photos and the promotion button:
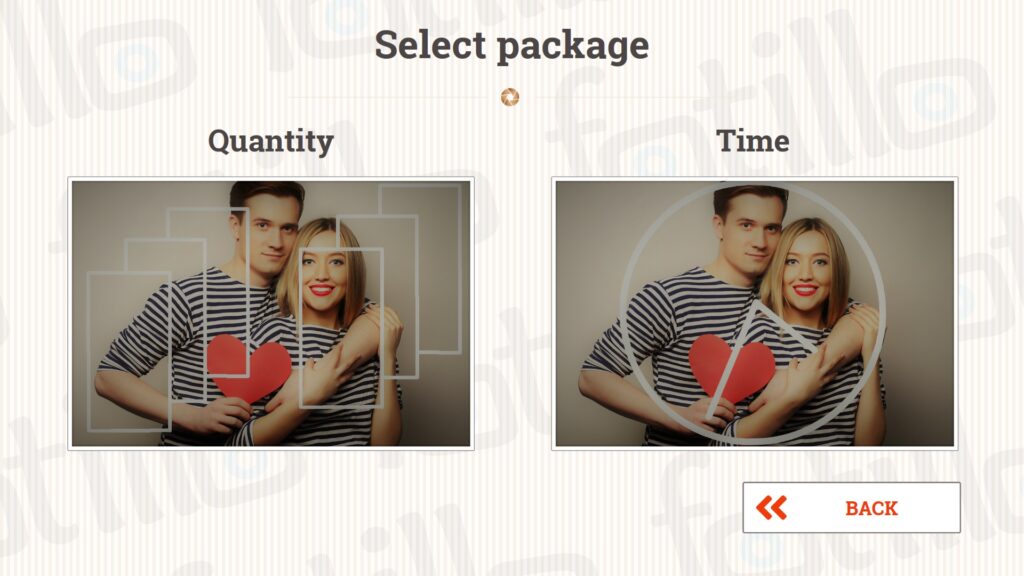
We see the possibility of using both a quantity package (EUR 50 for 11 photos) and a time package (EUR 50 for 15 minutes). We have the option to set up prices, packages and forms of promotion in the above fields.