

The season has changed, but the postcard kiosk in the shopping mall still shows a summer template. You want to add a holiday theme, a hotel logo or a new date. But you don’t want to hire a designer for every change. With Fotillo Editor, you can do it yourself, in your browser.
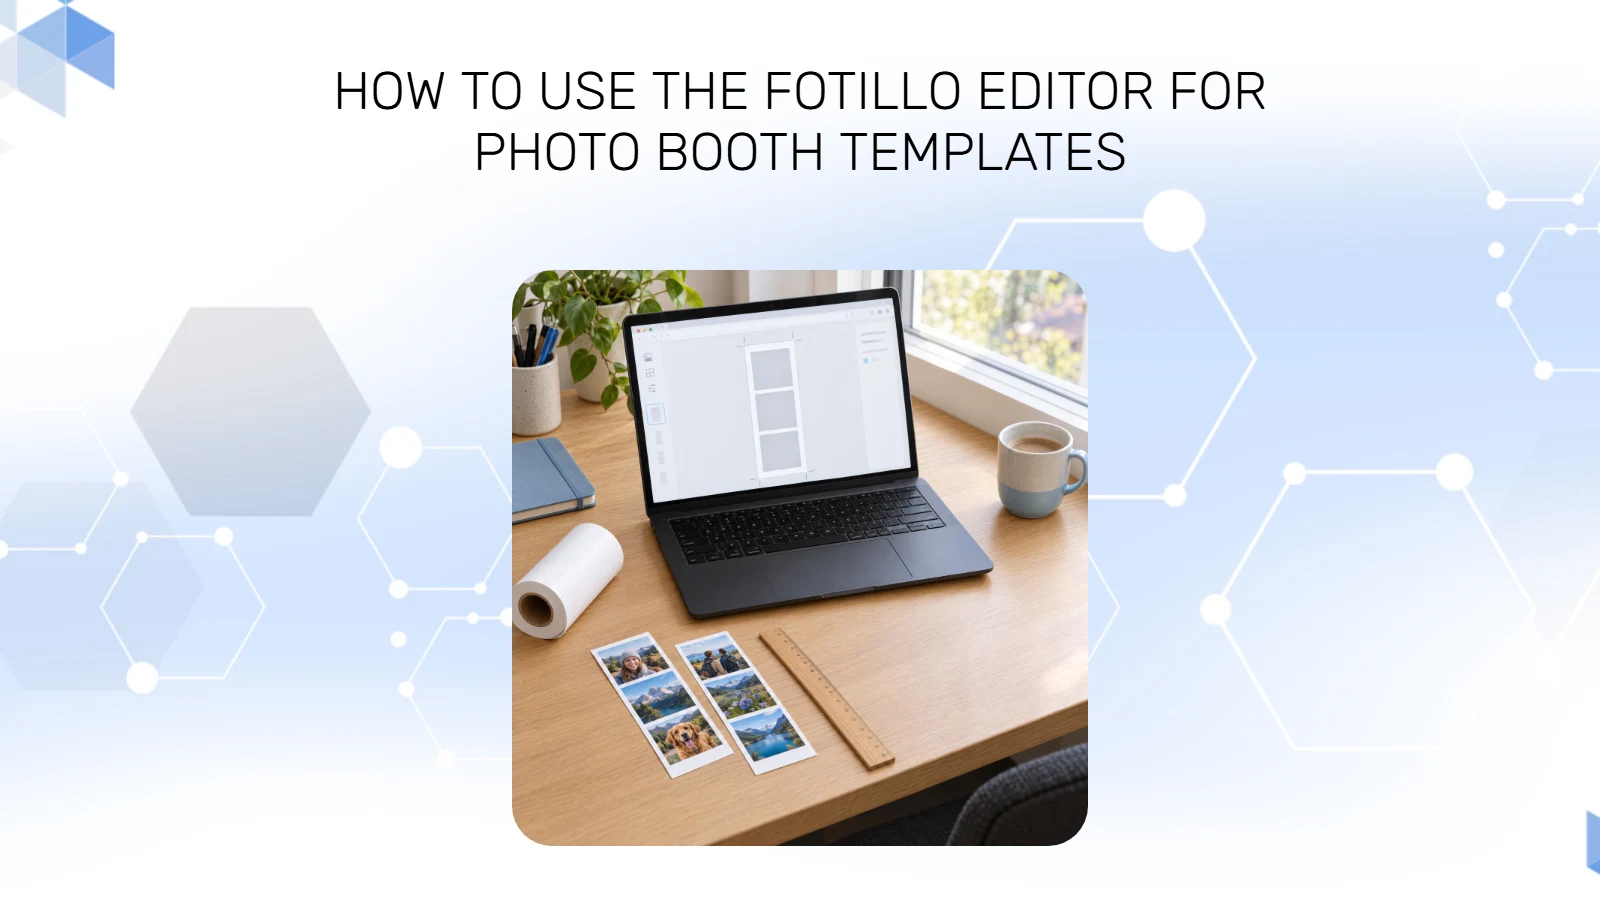
Fotillo Editor needs no installation. Open editor.fotillo.com, choose your printer and arrange elements with the mouse, with a live preview. The editor takes care of the roll format, resolution and the files the Fotillo software needs. At the end, you download a ZIP package ready to upload.
Details of every feature, with screenshots, are in the editor guide. It’s worth keeping it open in a second tab.
Photo booth template editor: getting started and screen layout
The editor opens in your browser and detects its language automatically. The interface is available in 13 languages. You can switch using the flags on the start screen or the menu in the top right corner. The editor remembers your choice between sessions.
The start screen gives you 3 options:
- New project: a template from scratch, with a wizard.
- Open existing: import the Collage.xml file and PNG files from an existing template.
- Load project (.fotillo): go back to saved work.
Tip: the editor saves your work automatically in browser storage, including the background, graphics and logo. If you close the tab by accident, click Restore project on the start screen. Autosave only works in this browser on this computer, though. Save important projects with the Save project button as well.
The editor screen has 3 parts. The left panel contains collapsible sections: Project settings, Background, Photos, Labels, Graphics, QR code and Validation. The workspace is in the middle. The right panel shows the position (X, Y), size and rotation of the selected element.
Zoom with the mouse wheel and pan while holding Alt or the middle mouse button. The 0 key fits the workspace to the screen. The Grid button shows lines every 100 px, a center cross and rule-of-thirds lines. While dragging, red alignment guides appear and elements snap within 8 px. Ctrl+Z undoes up to 50 steps.
A new project in 4 steps: printer, format, photos, background
Click New project. The wizard guides you through 4 steps: printer, print format, photos and layout, and finally name and background. First, you choose the printer family. The editor then shows only the formats that printer can actually print from the loaded roll.
- Citizen CY / CY-02 and DNP RX1 / RX1HS: 10×15, 15×20 and 13×18 cm rolls.
- Citizen CX-02 and DNP DS620: 10×15, 15×20, 15×23 and 13×18 cm rolls.
- Citizen CZ-01 and DNP QW410: 10×15 and 11.5×20 cm rolls.
- Office printer (laser or inkjet): A3, A4 and A5.
Each format tile shows the print size, the dimensions in pixels, the cut lines and the hatched trim area. Every format has a portrait and a landscape version. Some formats are marked as untested, so print a test on your own equipment before the season. A template in an office format usually won’t appear on a photo booth with a Citizen or DNP printer.
Need a different size? The Custom size option accepts centimeters, or pixels with a density. The editor tells you right away which format the Fotillo software will recognize and at what dpi.
In the next step, you choose 1 to 5 photo fields and one of the ready layouts. Options include side by side, stacked, mosaic, grid, asymmetric or slightly rotated. The project name, e.g. “Wedding-Gold-3photos”, becomes part of the ZIP folder name and the Collage.xml file. You set the background as a color or an image and can change it later.
The editor handles strips and double prints for you. The printer cuts across the full width of the roll. So a 10×15 roll gives you 2 strips of 15×5, and a 15×20 sheet gives two 15×10 prints. You design 1 piece. The editor draws the rest as a semi-transparent preview and creates it on export.
Photos, masks and decorations
A photo field shows a demo photo. When printing, the Fotillo software puts guests’ photos in its place. Add a field with the + Add photo field button, up to 5 per template. The corner handles resize it while keeping a 3:2 ratio. The Delete key removes the selected field.
In the right panel, each photo has a sequence number. Fields with the same number show the same shot. A 1, 2, 1, 2 layout in 4 fields places 2 shots alternately. This is useful for ID photos and multiple prints.
A mask crops the photo to a shape. There are 13 options: no mask, circle, square, portrait and landscape rectangle, heart, star, diamond, hexagon, arch, oval, cloud, and a custom mask from a PNG file. The Scale X and Scale Y sliders, ranging from 0.3 to 1.5, stretch the shape. For example, you can turn a circle into an oval. On export, the editor creates the Overlay and CutOut files the software uses to crop guests’ photos.
Decorations are further down in the right panel. You’ll find shadows, gold, silver, white and black frames, a double gold frame, polaroid, vintage, torn paper, leaves and flowers. Frames only work on rectangular photos. With a mask, you can still use shadows, leaves and flowers.
Regardless of the decoration, you can turn on Photo border: color and thickness from 1 to 40 px. With a mask, the outline follows the shape. Arrow keys move an element by 1 px, and Shift plus an arrow key moves it by 10 px.
Labels, text, graphics, background and QR code
Labels are text fields that the Fotillo software fills in when printing. A template can have up to 4 labels: title (Label_title), names or company name (Label_name), date (Label_date) and hashtag or profile handle (Label_hashtag). You type the actual text in the software, in the F3 menu. That way, you can change the date or event name on a hotel photo kiosk without a new template.
At least one label must stay in the template, or the software won’t insert any text. The editor won’t let you delete the last one. Each label offers 28 fonts, size, style, text color, a background with 0–255 opacity, rounded corners and inner padding.
Decorative text is baked permanently into the Frame.png file. It works well for permanent branding and watermarks. It has the same formatting options as labels, plus left, center and right alignment. Upload graphics and logos as PNG or JPEG, including with transparency. The ⧉ button duplicates an element and shifts the copy 30 px right and down.
The background has 3 modes: Color (picker or hex code), Gradient (2 colors, 0–360° angle, linear or radial) and Image. Fit the image with the Fill, Fit, Stretch and Original buttons, then fine-tune X, Y, W and H by hand.
A QR code is required in every template. The software uses it for photo sharing and for printing the code on the photo. A template without it will cause an error. You only set its position and size, so the code doesn’t cover the photos.
Exporting the template: test, signature and upload to the software
Click Export ZIP in the top bar. The editor checks the project and shows an XML preview and a list of files. The package contains Collage.xml, a 1080×1080 Collage.png thumbnail, the Frame.png file, fonts, mask files, the background (if it’s an image) and the .fotillo project file. You can also export a template without photos, such as a postcard, after confirming.
The Fotillo software checks templates for a digital signature. A test export is free and unlimited, but prints show a DEMO mark. Use it to check the layout, margins and print quality on your equipment. A signed export gives a clean print, requires an account and uses 1 export from your package.
- Click Create account, enter your email and password, and confirm via the link in the message.
- Copy the 16-character Account ID from your account panel.
- Buy an export package in the shop and paste the ID into your order.
- Enter the activation code you receive by email in your account panel.
- In the export window, choose Export for print.
According to the guide, the 700 package includes 10 exports, 1400 includes 20 and 2800 includes 40. An activation code only works on the account whose ID it was created for. Signed templates stay in your account, and you can download them again at no cost. Exporting an unchanged project returns the earlier package without using another export.
To update an old template, use Open existing. Drag in Collage.xml and the PNG files, and the editor rebuilds the photos, labels and masks. Before you leave the device, check that the software has a template from a signed export. An unattended device would keep printing DEMO until you notice.
Frequently asked questions
Do I need to install Fotillo Editor?
No. Fotillo Editor runs in your browser at editor.fotillo.com. The interface is available in 13 languages and detects your browser language automatically.
Why does DEMO appear on my prints?
The DEMO mark is printed by a template from a test export, which has no digital signature. This kind of template is for testing on your equipment. To print without it, make a signed export and upload the new package to the Fotillo software.
Do I need a new template to change names or the date?
No, as long as that text is in labels. You fill in labels in the Fotillo software in the F3 menu, and the template stays the same. Decorative text is part of the image, so changing it requires a new export.
How many signed exports do I get in a package?
According to the editor guide, the 700 package includes 10 exports, 1400 includes 20 and 2800 includes 40. Each signed export uses 1 export. Downloading a signed template again from your account is free.
Can I edit a template I already have in the software?
Yes. On the start screen, click Open existing and drag in the Collage.xml file and the PNG files. The editor rebuilds the photos, labels, masks and positions. You can also open signed templates from your account for editing.
Make your first test template
A test export is free and unlimited, so you can check the layout on your own printer before you buy anything. Find out more about the software and print packages at fotillo.com.
